Homemade Garlic Powder: Easy Oven Recipe for Fresh Flavor
Garlic powder is a culinary superhero, an indispensable staple found in nearly every kitchen worldwide. It infuses a profound, aromatic depth into everything from hearty stews and marinades to simple roasted vegetables and popcorn. Yet, many home cooks settle for the convenience of store-bought versions, often unaware of the vibrant, robust flavor they're missing out on. Commercial garlic powders, while convenient, can sometimes taste flat, and often contain anti-caking agents and other additives that dilute their natural potency. Imagine a garlic powder so fresh, so aromatic, it elevates your dishes with a pure, concentrated essence of garlic. This isn't just a dream; it's an easily achievable reality right in your own kitchen.
In this comprehensive guide, we'll dive deep into the incredibly simple and rewarding process of
how to make garlic powder in the oven. You don't need fancy equipment like a food dehydrator, just your trusty oven and a little patience. Get ready to transform fresh garlic into a golden, fragrant powder that will revolutionize your spice rack and your cooking.
Why Homemade Garlic Powder Reigns Supreme
The moment you taste homemade garlic powder, you'll understand why it’s a game-changer. The difference in quality, aroma, and flavor between what you create at home and what you buy off the shelf is astonishing.
*
Unrivaled Freshness and Flavor: Store-bought garlic powder can sit on shelves for months, losing its volatile aromatic compounds. When you make your own, you're capturing garlic at its peak, preserving its pungent, sweet, and savory notes in a concentrated form. The intense aroma alone is enough to convince you of its superiority. Indeed, you'll discover that
Oven-Baked Garlic Powder: Superior to Store-Bought Spice in every possible way.
*
Pure Ingredients, No Additives: Many commercial spice blends include anti-caking agents like silicon dioxide or calcium silicate to prevent clumping. While generally safe, these additives can slightly mute the flavor of the spice. With homemade garlic powder, you're guaranteed 100% pure garlic, free from any unwanted extras. This control over ingredients ensures a healthier, more natural product.
*
Cost-Effective: If you're a fan of fresh garlic, you might find yourself with an abundance from a garden harvest, a farmer’s market haul, or even bulk purchases. Transforming these surplus heads into garlic powder is an excellent way to prevent waste and save money in the long run, especially considering how much fresh garlic it takes to make a small amount of powder.
*
Deep Satisfaction: There’s an undeniable satisfaction that comes from making something from scratch, especially a core ingredient you use regularly. Knowing exactly what goes into your food brings peace of mind and a sense of culinary accomplishment.
Gather Your Tools: What You'll Need
One of the best aspects of learning
how to make garlic powder in the oven is that you likely already possess most, if not all, of the necessary equipment.
*
Fresh Garlic: This is your star ingredient! The quantity you need depends on how much powder you want. As a general guide,
12 heads of garlic typically yield about 1 cup of powder, 6 heads will give you roughly 1/2 cup, and 3 heads about 1/4 cup. You can scale this up or down based on your available garlic.
*
Sharp Knife or Mandoline Slicer: For thin, even slices. Evenness is key for uniform drying.
*
Cutting Board: A stable surface for slicing.
*
Baking Sheets: Large enough to accommodate your sliced garlic in a single layer.
*
Parchment Paper: Essential for preventing sticking and making cleanup a breeze.
*
Oven: Your primary drying tool. Any standard oven will work perfectly, proving that you can
Make Garlic Powder in Your Oven: No Dehydrator Needed!
*
Coffee Grinder or Spice Grinder: To pulverize the dried garlic into a fine powder. A high-speed blender might also work for larger batches, but a dedicated grinder usually produces the finest texture.
*
Airtight Container: For storing your finished powder.
The Step-by-Step Guide: How to Make Garlic Powder in the Oven
Transforming fresh garlic into a fine, flavorful powder is a straightforward process. Follow these steps for perfect results every time.
Step 1: Prepare Your Garlic
Begin by preheating your oven. A temperature between
150°F to 190°F (approximately 65°C to 88°C) is ideal. I often find
170°F (77°C) to be a sweet spot, providing consistent, gentle drying without risking burning. The key here is a low, slow heat to remove moisture completely.
Next, separate the cloves from the garlic heads. This is often easiest by gently smashing the head with the palm of your hand, which helps loosen the cloves. Then, peel each individual clove.
*
Pro Tip for Easy Peeling: For stubborn cloves, slice off a thin piece from both the root end and the top. The papery skin should then slip off much more easily. Alternatively, some people like to slightly smash each clove with the side of a knife to loosen the skin quickly.
Once peeled, it's time to slice. Using a very sharp knife or a mandoline slicer, cut each garlic clove into uniformly thin pieces. Aim for slices that are as consistent as possible, ideally 1/16th to 1/8th of an inch thick. Thinner slices will dry faster and more evenly. Uneven slices will lead to some pieces burning while others are still flexible.
Step 2: Arrange and Bake
Line your baking sheets with parchment paper. This prevents sticking and makes transferring the dried garlic effortless. Arrange the thinly sliced garlic in a single layer on the prepared baking sheets, ensuring that none of the slices overlap. Overlapping pieces will steam rather than dry, extending the baking time significantly and potentially leading to uneven results.
Place the baking sheets into your preheated oven. The drying process will take anywhere from
3 to 7 hours, depending on your oven's exact temperature, how thinly and evenly you sliced the garlic, and the moisture content of the garlic itself.
*
Monitoring is Key: Begin checking your garlic after about 2-3 hours. The goal is to achieve garlic slices that are completely crisp and brittle, snapping easily between your fingers. They should not be flexible or leathery in the slightest. Check them hourly, and as they get closer to being done (around the 4-5 hour mark), start checking every 30 minutes to prevent burning. Remember, you want to dry them out, not toast them! If they start to turn deeply golden or brown, your oven might be too hot or you've left them in too long.
Step 3: Cool and Grind
Once your garlic slices are thoroughly crisp, remove them from the oven and let them cool completely on the baking sheet at room temperature. This cooling step is crucial. If you try to grind them while still warm, any residual moisture can lead to clumping and a less fine powder. Ensure they are bone-dry and cool to the touch.
Transfer the cooled, crisp garlic slices to your coffee grinder or spice grinder. Work in batches if necessary to avoid overloading the grinder. Pulse the garlic repeatedly until you achieve a fine, consistent powder. Avoid running the grinder for too long continuously, as this can generate heat and cause the garlic's natural oils to release, potentially leading to a slightly greasy, clumpy powder. Instead, use short bursts, shaking the grinder gently between pulses.
Mastering the Process: Tips for Perfect Powder
*
Choose Quality Garlic: Start with fresh, firm heads of garlic free from sprouts or soft spots. The better your initial ingredient, the better your final product.
*
Patience with Peeling: Peeling can be tedious. If doing a large batch, consider methods like shaking cloves in two bowls or a jar, or blanching briefly, but ensure they are thoroughly dried afterward.
*
Uniform Slicing is Paramount: This cannot be stressed enough. A mandoline slicer makes this job much easier and yields more consistent results than hand-slicing with a knife. If using a knife, take your time.
*
Don't Rush the Drying: Resist the urge to crank up the oven temperature to speed things up. A higher temperature risks burning the garlic, giving it a bitter, undesirable flavor instead of gently drying it. Low and slow is the mantra here.
*
Understand Your Oven: All ovens vary. Some run hotter than their setting, others have hot spots. Consider rotating your baking sheets halfway through the drying process to ensure even drying.
*
The "Snap Test": This is your ultimate indicator of doneness. If a piece of garlic bends, it's not ready. If it snaps cleanly with a satisfying *crisp*, it's good to go.
Storing Your Homemade Treasure & Yield Expectations
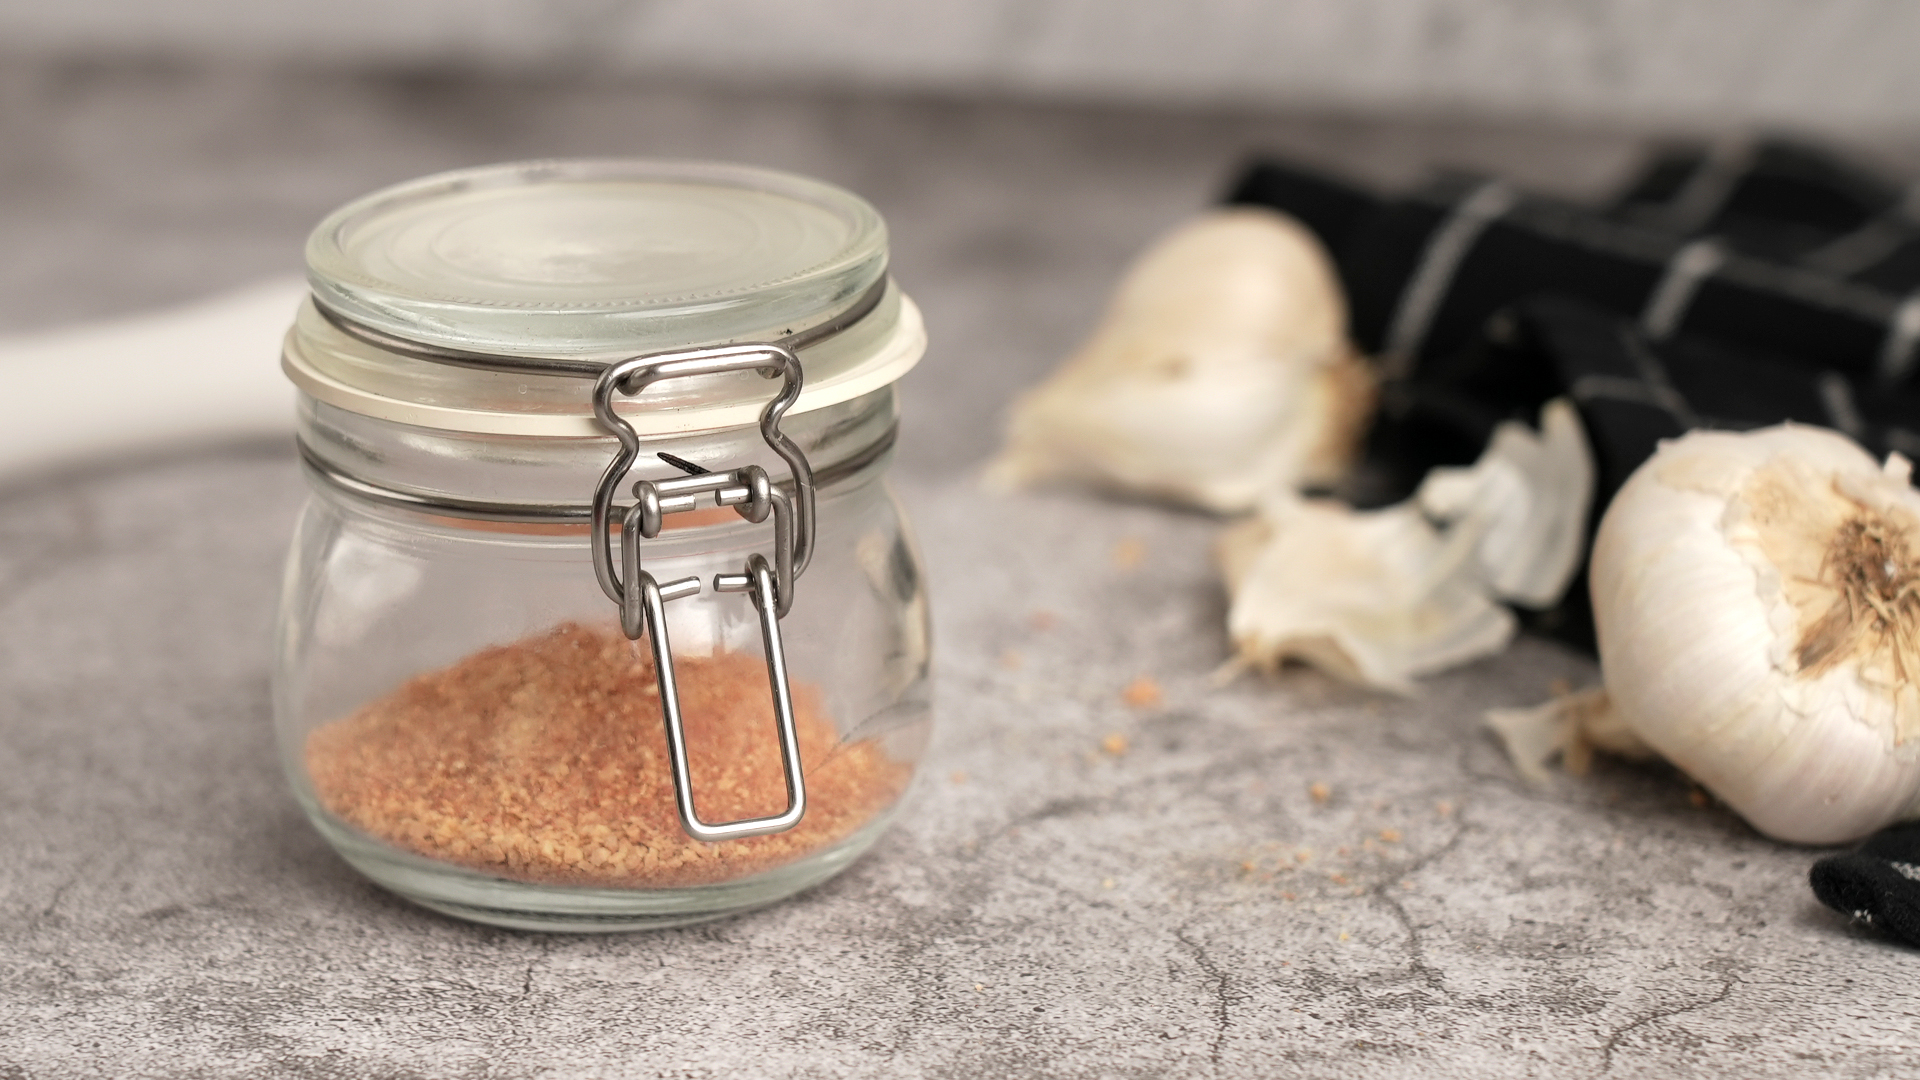
Once your garlic powder is ground to perfection, it's vital to store it correctly to maintain its potency and freshness. Transfer the powder to a clean, airtight container – a glass jar with a tight-fitting lid is ideal. Store it in a cool, dark pantry or cupboard, away from direct sunlight and heat. Humidity is the enemy of dried spices, so ensure your container is sealed well.
Properly stored, homemade garlic powder can maintain its peak flavor for
6-12 months, though its potency will gradually diminish over time. You’ll notice the difference even after a few months compared to store-bought, which is typically older already when purchased.
As mentioned earlier, the yield can vary, but generally:
*
3 heads of garlic ≈ 1/4 cup garlic powder
*
6 heads of garlic ≈ 1/2 cup garlic powder
*
12 heads of garlic ≈ 1 cup garlic powder
This approximation provides a good benchmark, allowing you to plan your batches according to your needs and available garlic.
Conclusion
Making your own garlic powder in the oven is more than just a culinary task; it's an investment in superior flavor, healthier eating, and a deeper connection to your food. The process of
how to make garlic powder in the oven is incredibly simple, requiring minimal equipment and basic culinary skills. The reward is a pantry staple that is infinitely fresher, more aromatic, and more potent than anything you can buy, elevating every dish it touches. So, the next time you find yourself with an abundance of garlic, don't let it go to waste. Transform it into a golden treasure and savor the truly fresh flavor that only homemade can deliver. Your taste buds, and your cooking, will thank you.